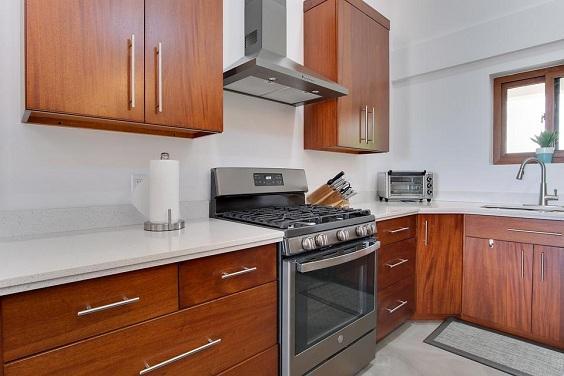
A kitchen cabinet is a basic feature to store and organize snacks, plates, kitchen wares, and utensils. There are various materials and designs that you can choose from based on your preference. One of the common materials that are used often and blended well with any decorating style is wood.
When it comes to wood, especially in the kitchen, it’s easily affected by everything around it from oil, moisture, and water. If this happens continuously, the cabinet will show the sign calling for reparation.
(You may also want to read this: Industrial Kitchen Ideas: 20+ Simple Easy DIY Decors on a Budget)
Below we’ve compiled an easy tutorial on how to clean up water damage.
How to Remove Water Damage from Kitchen Cabinets
Prepare these supplies and tools:
- Carpenter’s glue or wood fillers
- C-clamps
- Sandpaper or sanding machine
- Paint
- Waterproof coatings
Follow these steps:
Analyze the Damage
Before doing the job, identify the sign that the cabinet gives to you.
- Delamination and some swollen spots can be the signs that you can spot immediately.
- If the swelling area is small, you can use wood fillers and carpenter’s glue.
- If the fungus starts to grow in the delaminated surfaces, it’s better to replace it since it’s unsavable.
Drying the Cabinet
- Remove the damaged cabinet door and let it dry.
- You can heat according to the requirements.
- Ensure that the wood is completely dried because you don’t want to seal it in a wet condition.
(You may also want to read this: Small Kitchen Island Ideas: 20+ Inspiring Designs on a Budget)
Remove the Hardware
- Remove the hinges, braces, and any screws associated to ease your repair job.
- Check for their proper functionality and replace them accordingly.
Seal the Damage
Now you will need to seal the gaps from the delamination of the surface.
- Use carpenter’s glue or wood fillers to fill in the gaps.
- You can also use a primer to repair minor blemishes which would assist in a base formation for a classy finish after painting.
Clamp the Surface
Use C-clamps to clamp the surface so that separated veneers get enough adhered to each other.
(You may also want to read this: Gray Kitchen Ideas: 22+ Gorgeous Decors for Minimalist Home)
Sand the Surface
Sanding helps to remove uneven rises that may happen because of fillers. For this step, you can use 100-grit sandpaper to sand the surface once it strongly sets.
Renew the Appearance
Once you have done with the sanding, you can bring back its stunning look with the new paint color. If you’re looking for water-resistant paints, oil-based types are the best but they require a longer time to dry.
(You may also want to read this: Dark Kitchen Ideas: 21+ Unique Decors with Captivating Vibe To Steal)
Second Sanding Process
Sanding the painted surface is necessary to ensure a clean finish. You can use sandpaper or a sanding machine. It will be even better if you provide future water resistance by using lamination or water-resistant coating over the painted surface.
Drying and Re-Installation
Before installation, the last step is allowing the repaired cabinet door to get dried completely, and it is essential to not get prone to any water damage after installation.
(You may also want to read this: Neutral Kitchen Ideas: 23+ Trendy Decor Inspirations of the Year)
Those are nine easy steps that you apply to remove water damage on your kitchen cabinets and get a fresh appearance.
