Painting kitchen cabinets is a cost-effective and transformative way to give your kitchen a fresh and updated look. Whether you’re aiming for a modern white finish or a vibrant pop of color, painting cabinets can breathe new life into your space. While the process might seem daunting, with the right tools, techniques, and a bit of patience, you can achieve professional-looking results. This step-by-step guide will walk you through the process of painting kitchen cabinets to help you achieve the kitchen of your dreams.
A Step-by-Step Guide on How to Paint Kitchen Cabinets
Step 1: Gather Your Materials and Prepare the Space
Before you start, gather all the necessary materials:
- Screwdriver
- Sandpaper (medium and fine grit)
- Tack cloth
- Primer
- Paint
- Paintbrushes and rollers
- Painter’s tape
- Drop cloths
Clear out the cabinets and remove all hardware, including knobs, handles, and hinges. Lay down drop cloths to protect your countertops and floor.
Step 2: Remove Cabinet Doors and Hardware
Using a screwdriver, carefully remove the cabinet doors and any hardware attached to them. This will make the painting process smoother and allow you to work on a flat surface.
Step 3: Clean and Sand
Thoroughly clean all surfaces with a mild detergent to remove grease and grime. Once dry, lightly sand the cabinet surfaces, doors, and drawer fronts. This helps the primer and paint adhere better. Start with medium-grit sandpaper and finish with fine-grit for a smooth finish. After sanding, wipe away dust with a tack cloth.
Step 4: Apply Primer
Apply a coat of primer to all surfaces you intend to paint. Primer helps the paint adhere, provides an even base, and prevents stains or wood tannins from bleeding through the paint. Allow the primer to dry according to the manufacturer’s instructions.
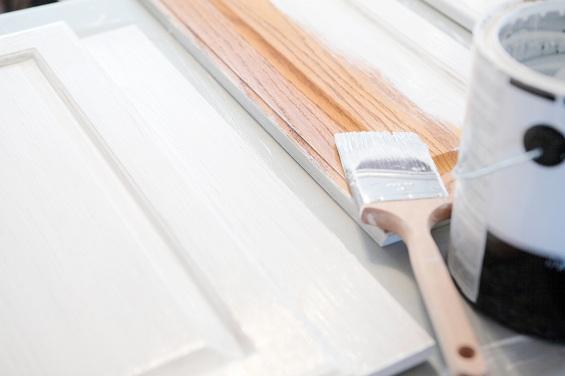
Step 5: Painting
Once the primer is dry, you can start painting. Use a paintbrush to paint any detailed or intricate areas and a roller for larger flat surfaces. Apply the paint in thin, even coats to avoid drips and achieve a smooth finish. Let the first coat dry completely before applying a second coat. Depending on the color and type of paint, you might need a third coat for full coverage.
Step 6: Drying and Reassembly
Allow the final coat of paint to dry completely before reassembling the cabinet doors and hardware. Take your time during reassembly to ensure everything is aligned and properly attached.
Step 7: Finishing Touches
Inspect the cabinets for any touch-ups or uneven areas. Make sure the paint has fully cured before putting the cabinets back to regular use.
Painting kitchen cabinets is a rewarding DIY project that can give your kitchen a new lease on life. With careful preparation, the right materials, and attention to detail, you can achieve a professional-looking finish that adds value and style to your home. Whether you’re opting for a subtle refresh or a bold transformation, the step-by-step guide provided here will help you successfully navigate the process of painting kitchen cabinets.